
AI Video Enhancement Explained: Better Low Light, Stabilisation and Detail
Understand how AI improves smartphone video clarity, exposure, colour and motion.
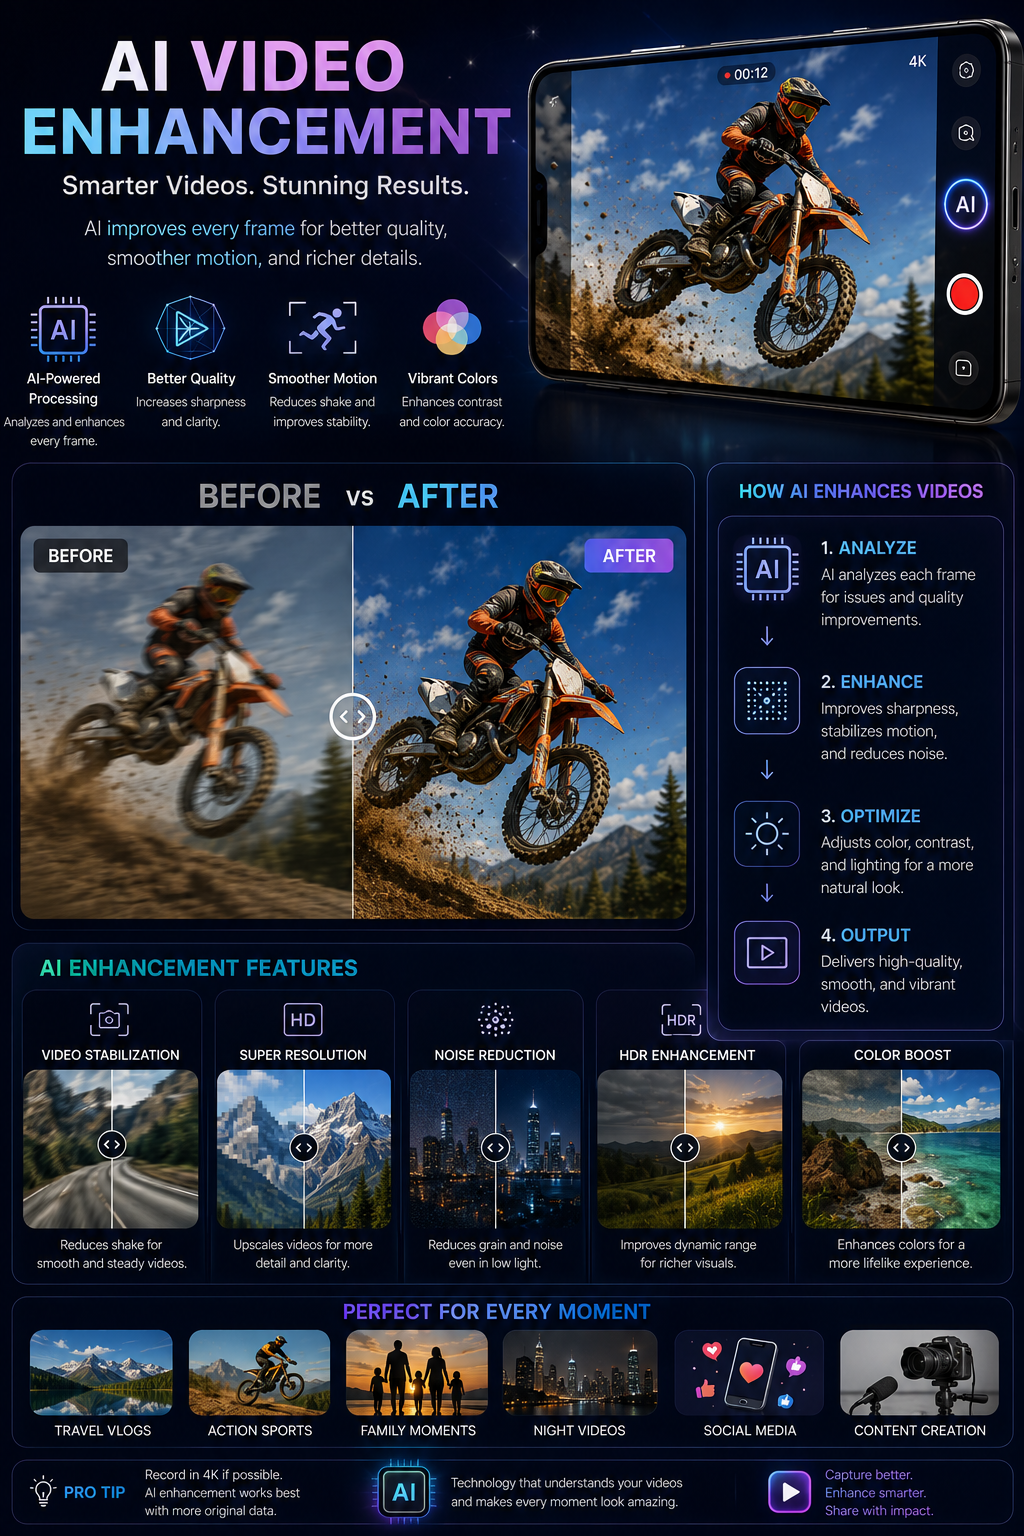
Learn how AI video processing reduces noise, stabilises footage, balances exposure and improves clarity.
Quick Verdict
Main rule: Start with the strongest possible original capture and use AI processing subtly.
Best for: vlogging, travel, night video, family videos, social content
Avoid if: You require an untouched documentary image or cannot verify problems such as warping, flicker, cropping.
Best by Use Case
Vlogging
Use the feature for vlogging, then compare the processed result with the original before sharing.
Travel
Use the feature for travel, then compare the processed result with the original before sharing.
Night Video
Use the feature for night video, then compare the processed result with the original before sharing.
Family Videos
Use the feature for family videos, then compare the processed result with the original before sharing.
Social Content
Use the feature for social content, then compare the processed result with the original before sharing.
Comparison Advice
- Compare how different phones handle AI-assisted video quality enhancement rather than relying only on feature names.
- Test difficult scenes involving hair, text, motion, reflections and low light.
- Check whether processing is on-device or cloud-based.
- Review export resolution, watermarking, account requirements and regional availability.
Mistakes to Avoid
- Ignoring warping.
- Ignoring flicker.
- Ignoring cropping.
- Ignoring heat.
- Ignoring battery drain.
- Deleting the original before checking the edited result.
- Assuming realistic-looking generated detail is always accurate.
Deal Advice
- Do not buy a phone for one AI feature alone.
- Prioritise camera consistency, stabilisation, useful focal lengths and software support.
- Confirm whether advertised AI tools are free, permanent and available in your region.
- For creators, also compare video quality, microphones, thermals and storage.
What Is AI Video Enhancement Explained?
This guide focuses on AI-assisted video quality enhancement. Modern smartphones combine camera hardware, image-signal processing and machine-learning models to analyse the scene and produce a result more quickly than a fully manual workflow.
The technology is most useful for vlogging, travel, night video, family videos and social content. Results still depend on lighting, camera hardware, software quality and how aggressively the phone processes the image.
- Primary purpose: AI-assisted video quality enhancement.
- Key techniques include temporal noise reduction, stabilisation, HDR mapping, detail enhancement and frame consistency.
- Some processing happens during capture, while other processing happens after capture.
- The original file should be preserved before applying strong generative or corrective edits.
How the AI Processing Works
The phone first analyses the scene and identifies relevant visual or audio information. Depending on the feature, it may compare multiple frames, estimate depth, detect motion, classify subjects or generate replacement pixels.

For AI-assisted video quality enhancement, the most important processing stages are temporal noise reduction, stabilisation, HDR mapping, detail enhancement, frame consistency. The exact pipeline varies by phone, app and software version.
- Stage 1: Temporal noise reduction.
- Stage 2: Stabilisation.
- Stage 3: Hdr mapping.
- Stage 4: Detail enhancement.
- Stage 5: Frame consistency.
Best Use Cases
This feature is especially useful for vlogging, travel, night video, family videos, social content. It performs best when the input is technically clean and the phone has enough visual information to make a reliable decision.
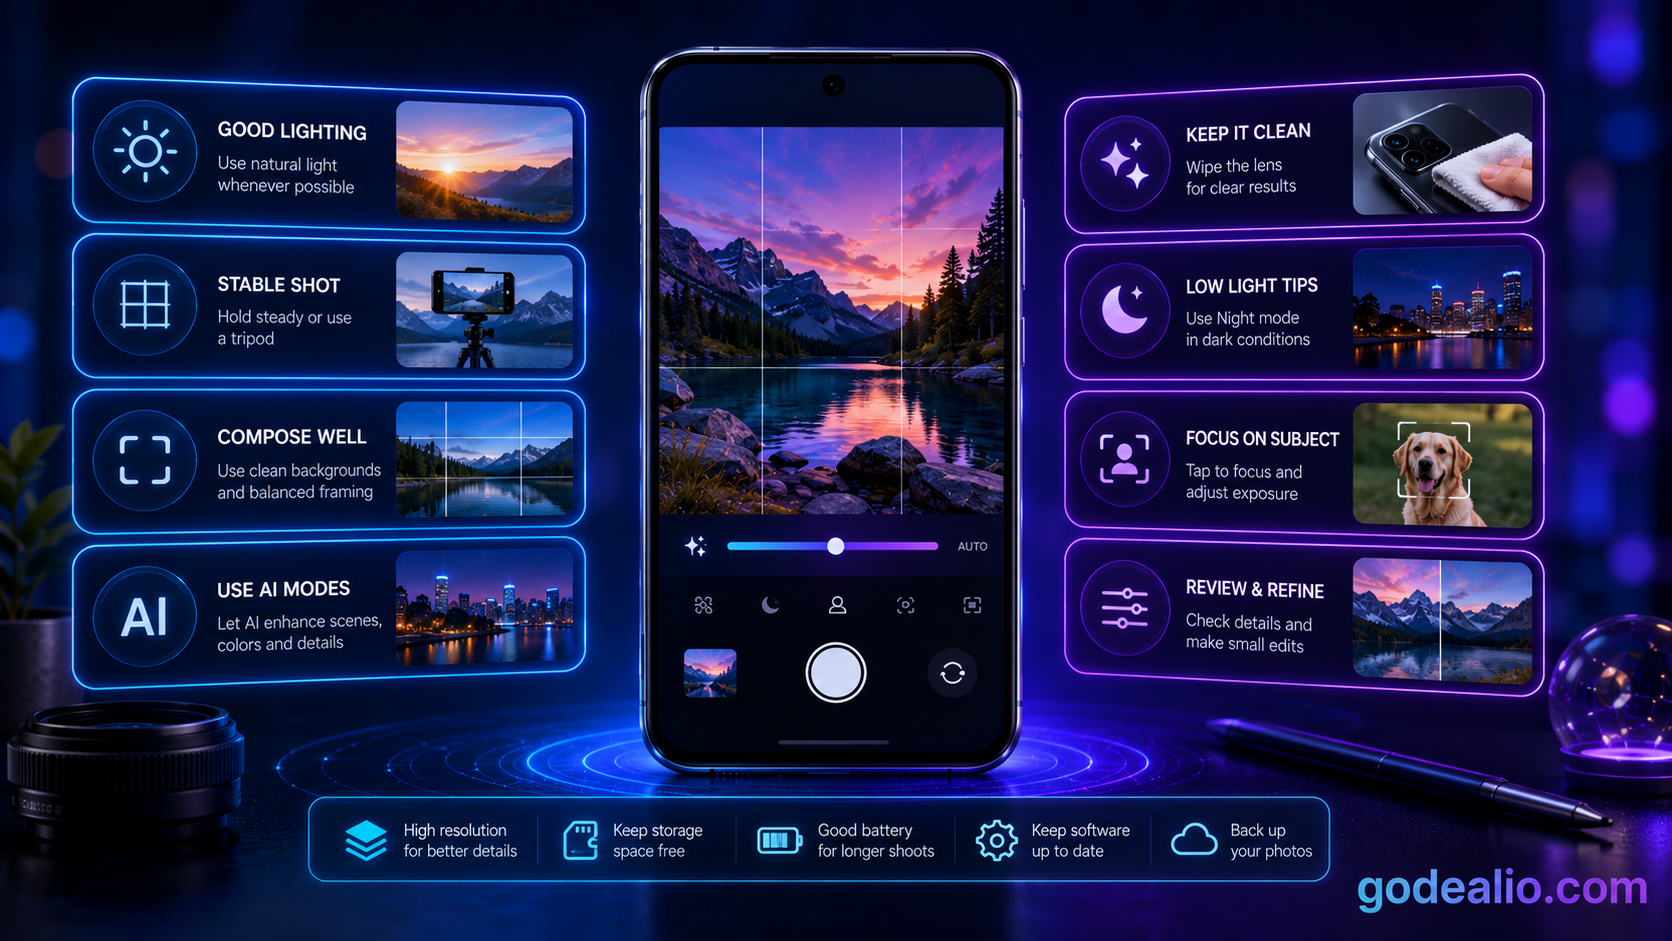
Good lighting, stable framing and a clean lens improve the quality of almost every AI-assisted result.
- Use it for vlogging.
- Use it for travel.
- Use it for night video.
- Use it for family videos.
- Use it for social content.
How to Use It Effectively
Open the camera or gallery tool that contains the feature, start with the highest-quality original available and apply only the minimum correction needed.
After processing, zoom in and inspect faces, hands, text, edges, reflections and repeating patterns. Compare the result with the original before exporting or sharing.
- Clean the lens and capture the strongest possible original.
- Use the main camera or an optical focal length where possible.
- Apply one major AI adjustment at a time.
- Inspect difficult edges and fine details at full size.
- Save the result as a copy and retain the original.
Common Problems and Limitations
Typical failure cases include warping, flicker, cropping, heat, battery drain. AI tools can create convincing results even when some details are inaccurate, so visual realism should not be confused with factual accuracy.
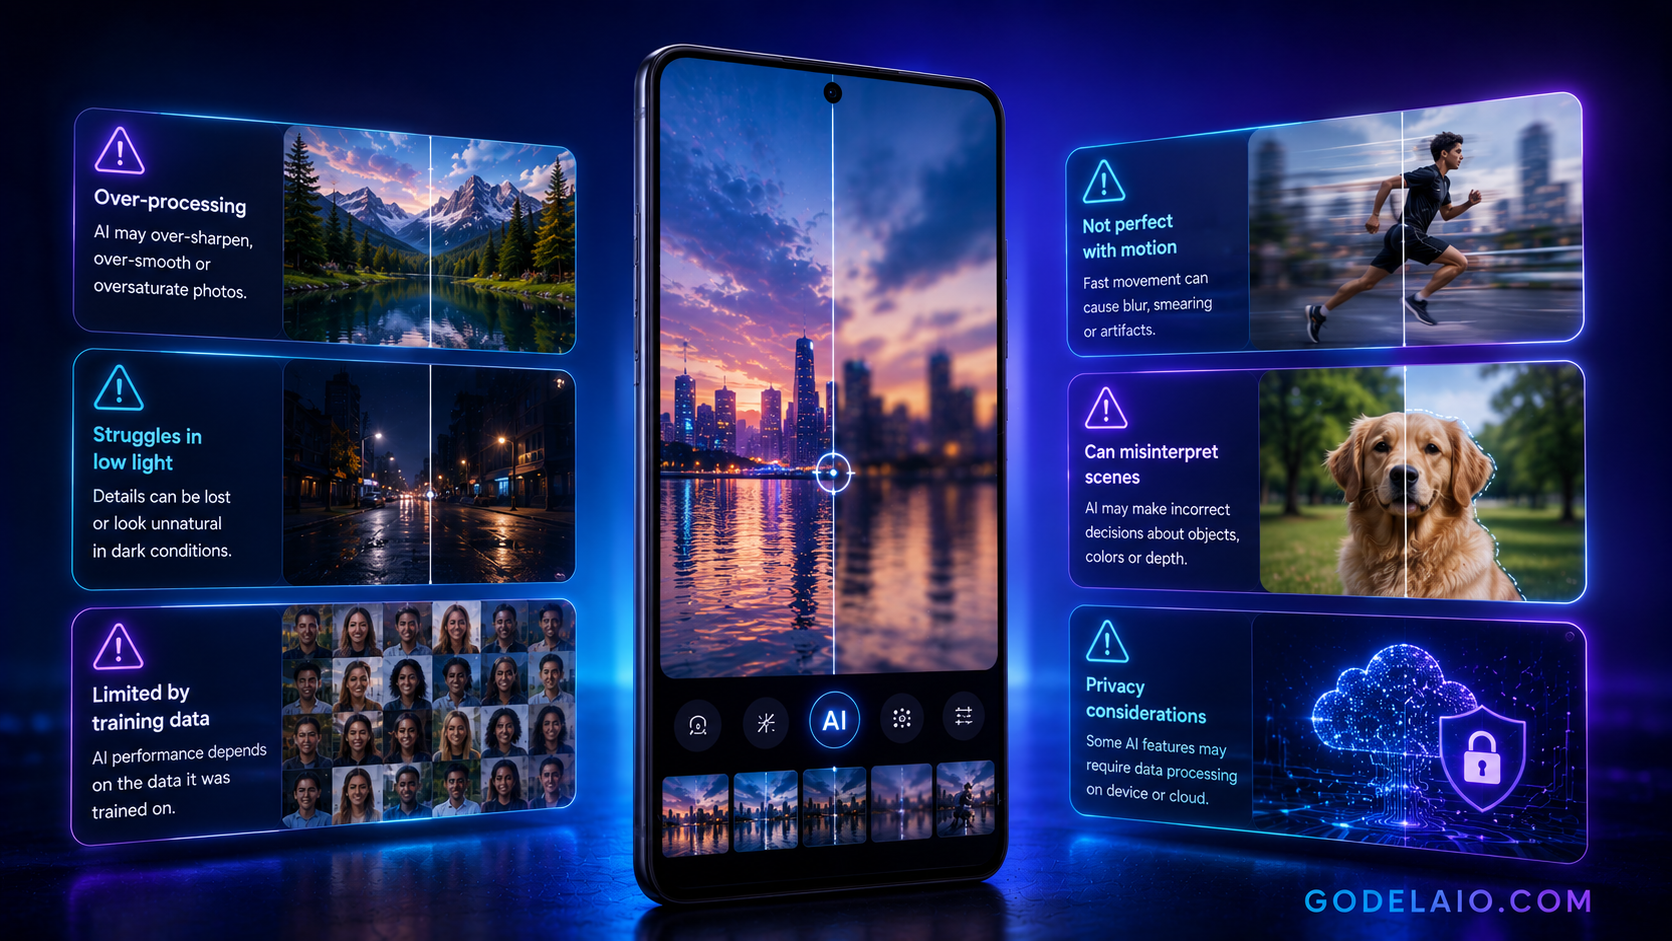
Moving subjects, low light, reflective surfaces, hair, transparent objects and text are common stress tests for camera AI.
- Watch for warping.
- Watch for flicker.
- Watch for cropping.
- Watch for heat.
- Watch for battery drain.
Camera Hardware Versus AI Processing
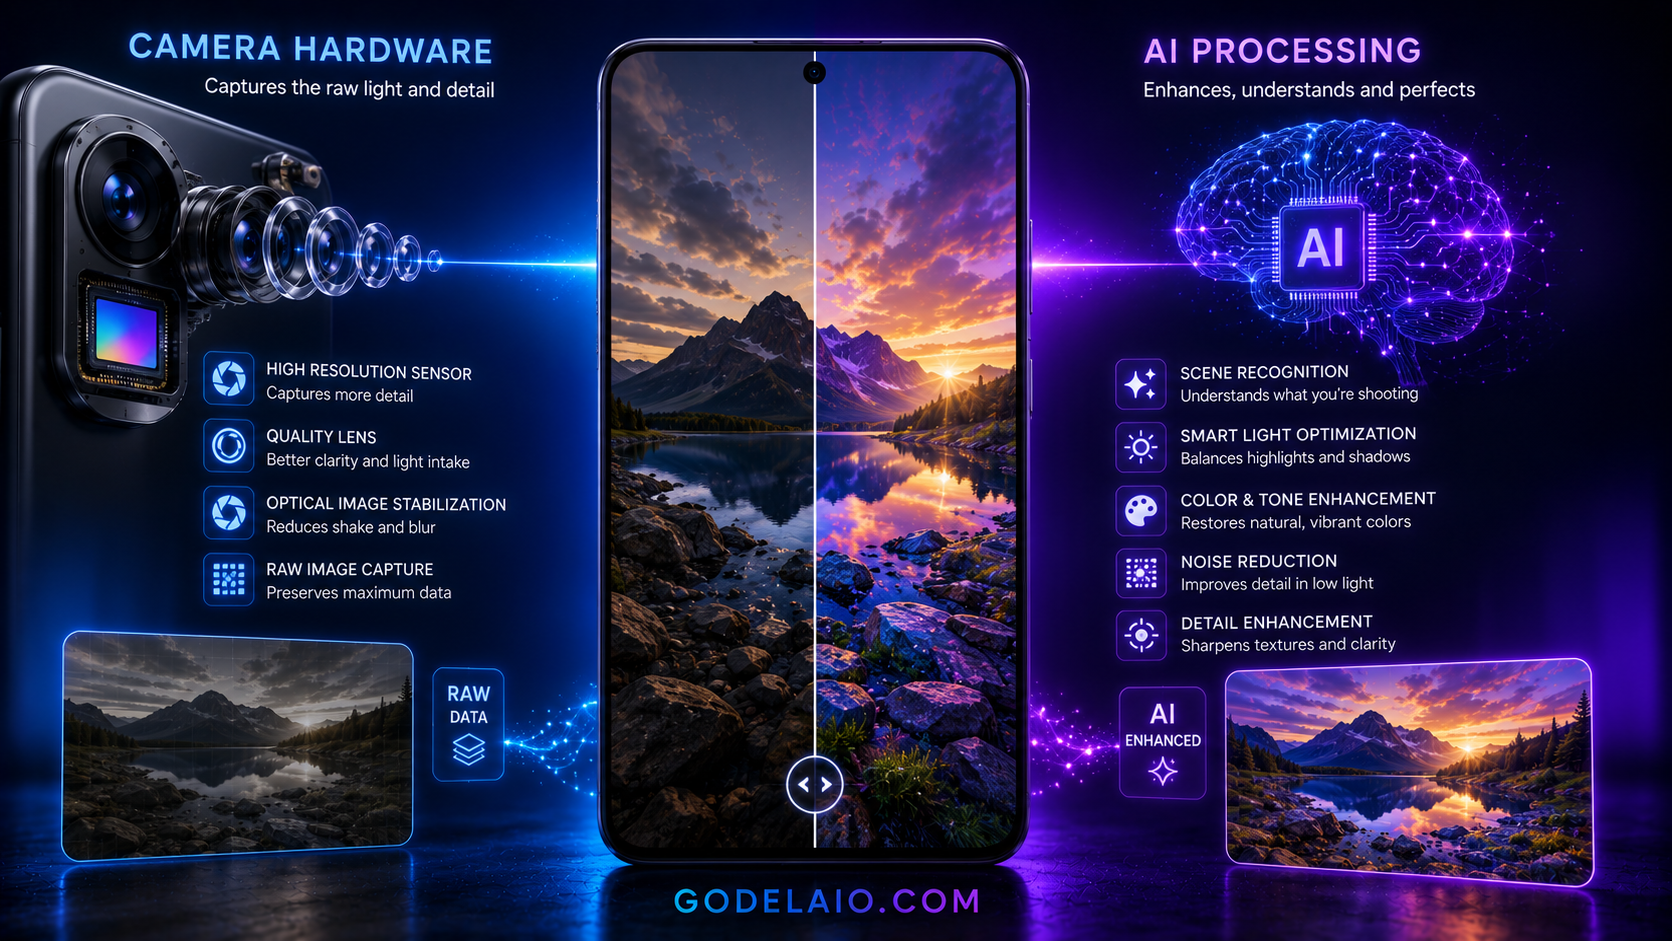
AI can improve exposure, colour, detail and usability, but it cannot fully replace a good sensor, lens, autofocus system or optical stabilisation.
When comparing phones, first check consistency from the main, ultrawide and telephoto cameras. Then consider whether the AI feature meaningfully improves your real workflow.
- Sensor size affects light collection.
- Lens quality affects sharpness and flare.
- Optical stabilisation helps low-light photos and video.
- Telephoto hardware produces more trustworthy zoom detail.
- AI determines how the captured data is interpreted and rendered.
Privacy, Authenticity and Responsible Use
Some features run entirely on the phone, while others upload media to cloud servers. Check data handling before processing private documents, children, confidential locations or sensitive recordings.

Disclose meaningful generative edits when accuracy matters. This is particularly important for journalism, evidence, product listings, competitions and public-interest content.
- Check whether internet access or an account is required.
- Review whether uploaded media is retained or used for model improvement.
- Keep original files and edit copies.
- Avoid edits that misrepresent people, products or events.
- Use visible disclosure when a major generative change affects context.
Final Verdict
AI Video Enhancement Explained can save time and improve results when used carefully. Its greatest value is making difficult capture or editing tasks more accessible on a phone.
Use AI as an assistant rather than a substitute for strong camera technique. Capture the best original possible, apply subtle processing and inspect the result before publishing.
Frequently Asked Questions
What is ai video enhancement explained?
It is a smartphone camera or editing capability that uses machine learning and computational processing for AI-assisted video quality enhancement.
Does ai video enhancement explained work on every phone?
No. Availability depends on the phone model, processor, operating-system version, app, region and whether cloud processing is supported.
Does the feature require an internet connection?
Some implementations run on-device, while others require cloud processing. Check the exact feature requirements on your phone.
Can the AI result be inaccurate?
Yes. Common issues include warping, flicker, cropping. Always inspect the processed result at full size.
Should I keep the original photo or video?
Yes. Save AI edits as copies so you can compare, retry or recover the untouched original.
Is camera hardware still important?
Yes. Sensor size, lens quality, autofocus, stabilisation and optical zoom strongly influence the quality of the data available to the AI.
Who benefits most from ai video enhancement explained?
It is most useful for vlogging, travel, night video, family videos and social content.
Related Reading on Godealio
More Guide Details
Guide Hubs
- ai-guides
- camera-guides
Featured
true